Fermented Roots
July 9, 2024
Healthy, probiotic pickles are easy to make, and quick in the summer heat.
Salad turnips, radishes, carrots, raw beets, you name it and you can ferment it. Fermenting is a simple way to make traditional pickles without vinegar. All you need is a little salt, water, some veggies, and a little time.
Fermented Roots
Makes 1 pint
INGREDIENTS
- 1 Bunch of fresh Radish, Turnips, Carrots, Beets, or any other garden roots, sliced, no more than ¼ inch thick.
- 1 teaspoon sea salt.
- ½ cup of water, or enough to cover sliced roots in pint jar by ½ inch.
INSTRUCTIONS
-
Fill a clean wide mouth pint jar with sliced roots.
-
Add salt on top of roots, and then add water, making sure roots are completely submerged with at least ½ inch of water on top.
-
Swish roots, salt, and water around a little.
-
Fill a ½ pint jar halfway with water, and place it bottom-down within the wide mouth root jar, on top of roots and brine. The brine should not overflow from the wide mouth root jar, and if it does, take out ½ pint jar and reduce the amount of water in it until brine does not overflow. The goal is for the roots to remain submerged in brine, weighted down by the ½ pint jar.
-
Cover both jars with a dish towel or paper towel, and secure it to the rim of the wide mouth jar with a rubber band. This creates a simple screen to keep bugs and dust out of your fermentation, but lets air in.
-
Let sit in a darker kitchen counter corner for 3-14 days, depending on room temperature. The warmer the room, the quicker they will ferment. Use a clean fork to taste test root slices after 3 days. If you would like a stronger pickled flavor, re-cover and let ferment for longer.
-
Once fermented to your liking, keep in the fridge with a lid on your jar. They should keep for weeks (or even months) in the fridge like this.
NOTES:
- When fermenting anything, make sure your jars and tools are clean. I generally sanitize my jars with vinegar or food grade hydrogen peroxide, and then rinse with water before adding the produce. Washing well with warm water and soap is also just fine.
- For an advanced fermentation, you can add dill, garlic, onions, or other flavorful produce and herbs—but just make sure anything you add is entirely submerged beneath brine. I find it easier to monitor this if whatever I’m fermenting is cut into larger pieces.
- If what you are fermenting is not entirely submerged, the piece that is above brine usually gets moldy, and has the potential to ruin the entire batch. You can skim off moldy piece and keep fermenting, watching that more mold doesn’t form.
- Fermentation goes faster in warm weather.
- Fermentation will get cloudy looking, usually.
- You can ferment almost anything! Cucumbers, beans, carrots, snap peas, peppers, and even fermented tomatoes.
- If you think your batch is moldy or bad, probably don’t eat it, but try again!
- Feel free to add anything else in that you’d like! This recipe is meant as a guide — substitute as needed!
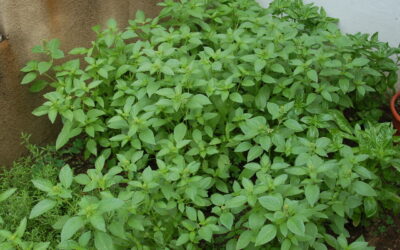
Other news from around the farm!
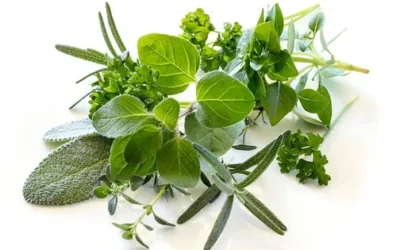
Herb Vinaigrette
Herb Vinaigrette June 16, 2025Herb Vinaigrette A simple and flexible vinaigrette perfect for using what herbs you have for a fresh, healthy dressing. Makes ~ 1/2 INGREDIENTS 1/4 cup vinegar of choice or Lemon Juice 1/4 cup Extra Virgin Olive Oil small handful of...
Green Goddess Dressing
Green Goddess Dressing June 7, 2025Green Goddess Dressing Farm style green goddess dressing! This is a flexible recipe that you'll be making all summer long. Makes 1/2 - 1 cup INGREDIENTS 1/4 cup Lemon Juice 1/4 cup Extra Virgin Olive Oil 1/4 + cup herbs of choice,...
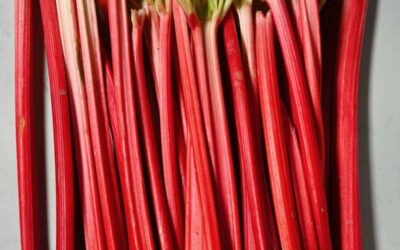
Strawberry Rhubarb Sauce
Strawberry Rhubarb Sauce May 30, 2025strawberry rhubarb sauce A sweet spring treat delicious over yogurt, ice cream, toast, or eaten by the spoonful! Makes about 1 cup INGREDIENTS 1 pint of strawberries, tops pulled off and rough quartered 1 large stalk of rhubarb...